Thư viện i2cKeypad
Sau một thời gian tìm kiếm mình đã tìm được bộ thư viện i2cKeypad này. Khi sử dụng i2c cho keypad chúng ta sẽ tiết kiệm được chân arduino. Bình thường mất 8 chân cho keypad, nay chỉ cần 2 chân SDA và SCL của module mở rộng IO PCF8574 kết nối theo chuẩn i2c.
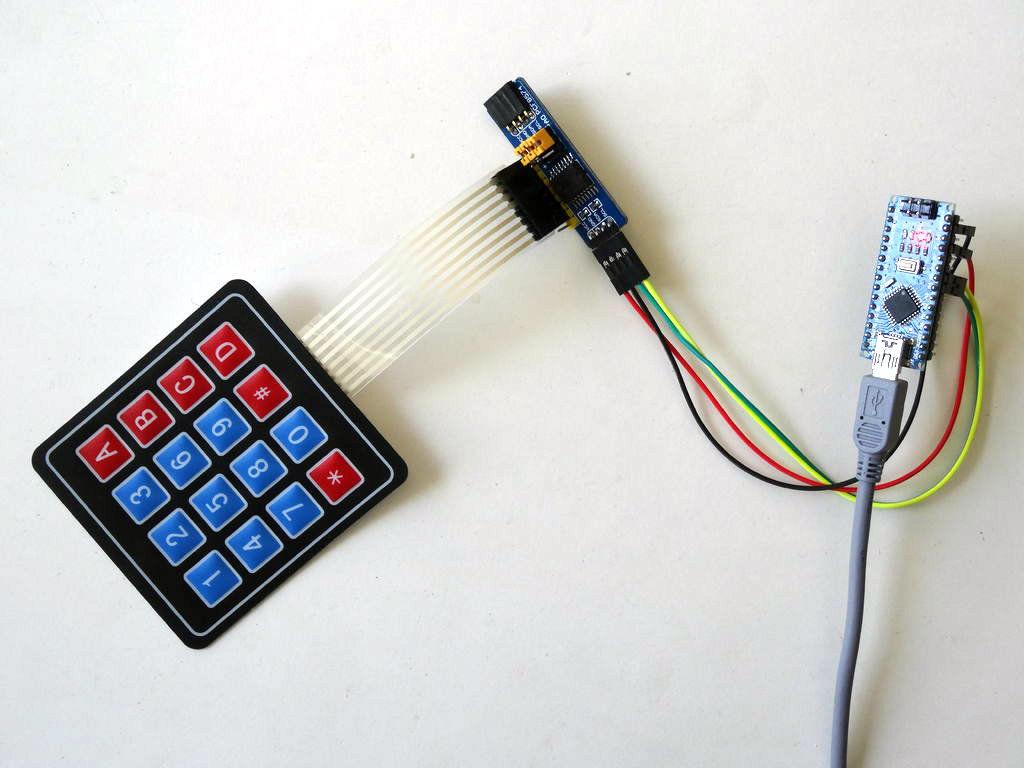
Chuẩn bị
- 1 module keypad 4×4
- 1 module mở rộng IO PCF8574
- Thư viện i2cKeypad. Download thư viện tại đây
Sơ đồ kết nối chân
| Arduino | module mở rộng IO PCF8574 |
| 5V | VCC |
| GND | GND |
| A4 | SDA |
| A5 | SCL |
Code mẫu cho chương trình
/* @file CustomKeypad.pde
|| @version 1.0
|| @author Alexander Brevig
|| @contact alexanderbrevig@gmail.com
||
|| @description
|| | Demonstrates changing the keypad size and key values.
|| #
Use with I2C i/o G. D. (Joe) Young Feb 28/12
*/
#include <Keypad_I2C.h>
#include <Keypad.h> // GDY120705
#include <Wire.h>

#define I2CADDR 0x20

const byte ROWS = 4; //four rows
const byte COLS = 4; //four columns
//define the cymbols on the buttons of the keypads
char hexaKeys[ROWS][COLS] = {
{'1','2','3','A'},
{'4','5','6','B'},
{'7','8','9','C'},
{'*','0','#','D'}
};
byte rowPins[ROWS] = {3, 2, 1, 0}; //connect to the row pinouts of the keypad
byte colPins[COLS] = {7, 6, 5, 4}; //connect to the column pinouts of the keypad

//initialize an instance of class NewKeypad
Keypad_I2C customKeypad( makeKeymap(hexaKeys), rowPins, colPins, ROWS, COLS, I2CADDR);

void setup(){
// Wire.begin( );
customKeypad.begin( ); // GDY120705
Serial.begin(9600);
}

void loop(){
char customKey = customKeypad.getKey();

if (customKey != NO_KEY){
Serial.println(customKey);
}
}


